This Sunday I will be doing a trunk show and demonstration at Nana in Mt. Pleasant, where I'll be showing how to carve and print linoleum blocks. If you're in the area, stop by and take a look, it's going to be a really great event (surrounded by all their amazing clothes and jewelery)!
If DC is too far for you, I thought I would do a roundup of the basic materials you need for block printing. All of these materials can be purchased at your local art store.
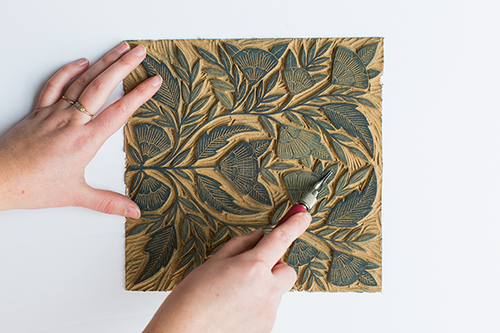
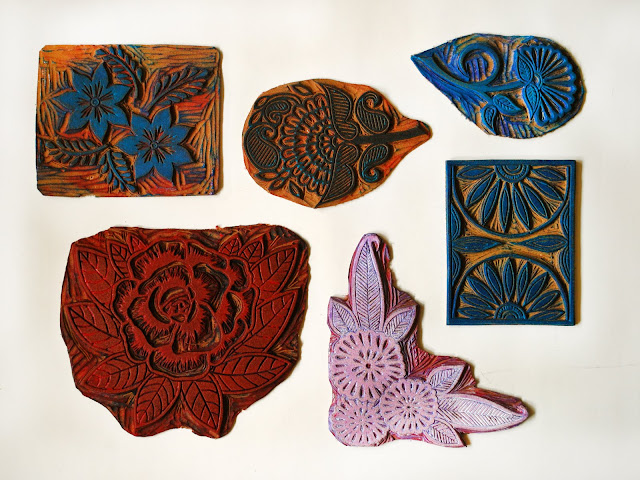
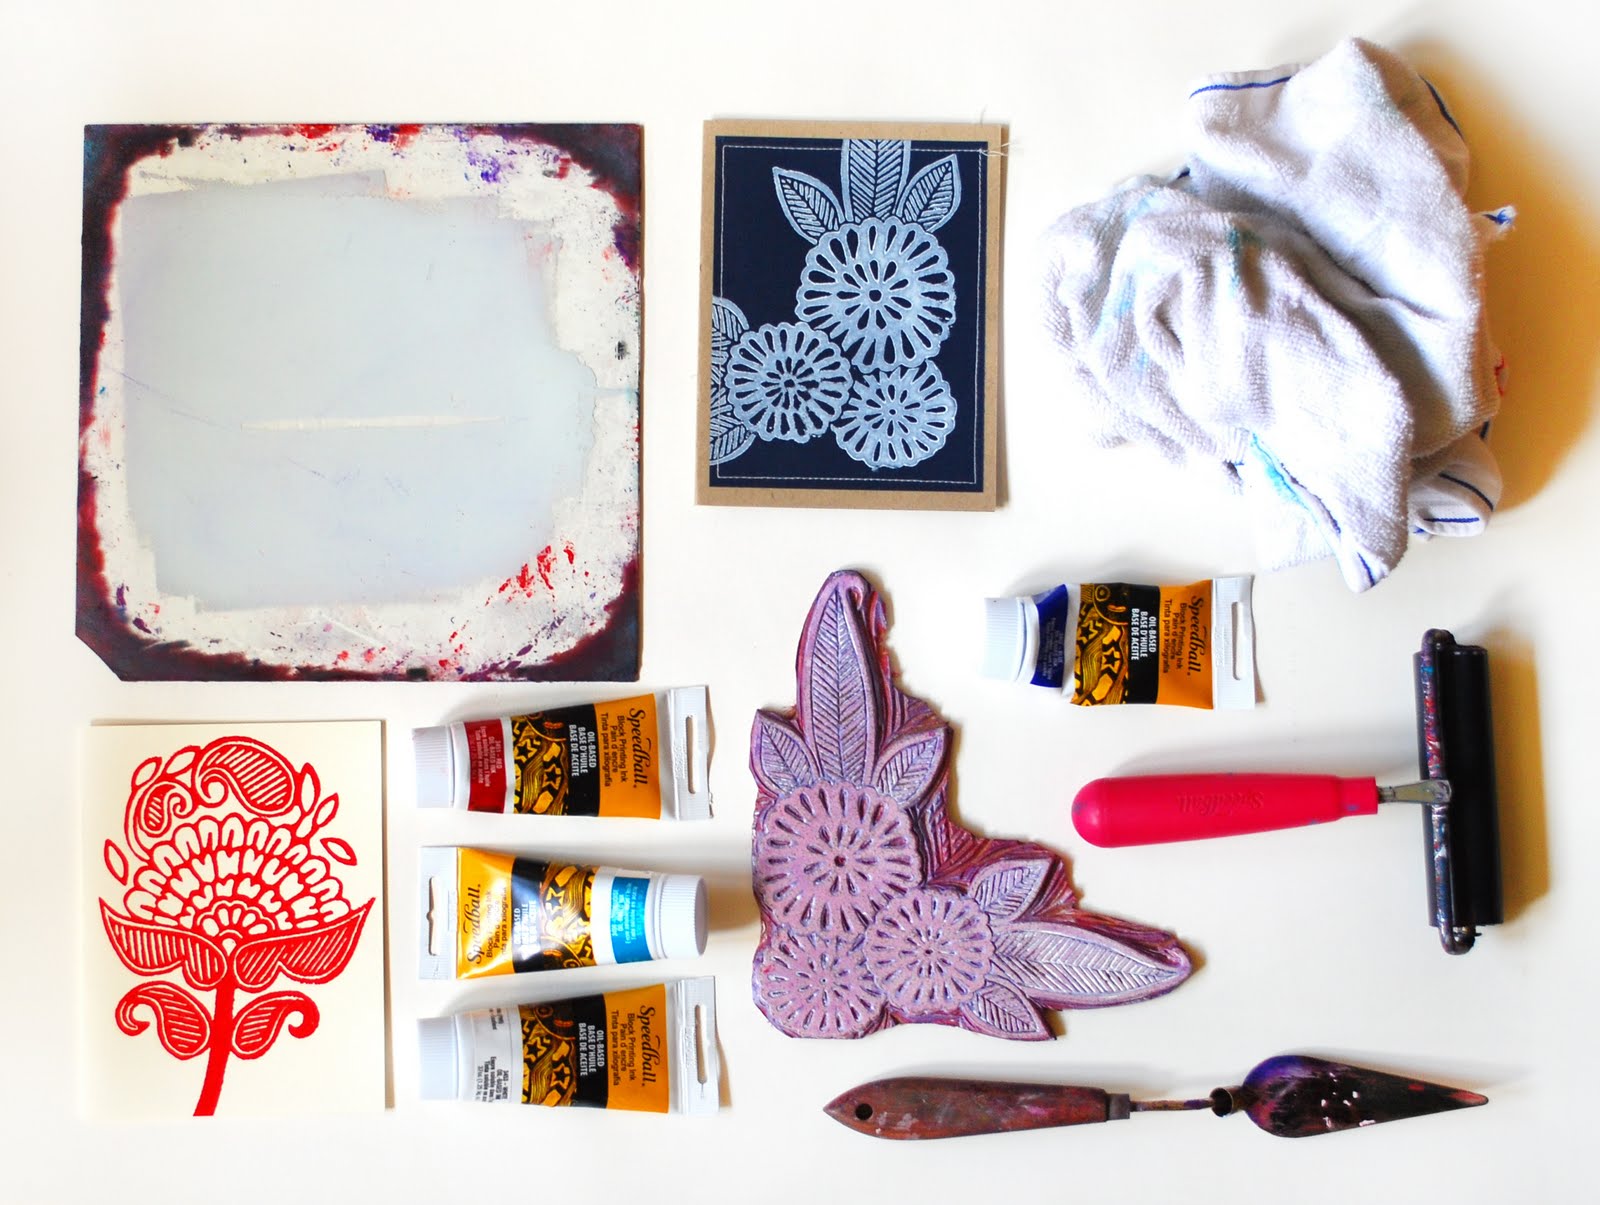
Linoleum
Linoleum is the material you use to carve the design. It comes in hundreds of different textures, but this is very different from the flooring material. I prefer linoleum that's a little bit softer, because it's easier to carve and easier to print without a press. Harder linoleum sometimes needs to be heated on a special plate before carving, so stick with something softer if you don't have one.
A lot of people use the soft pink rubber material for block printing. This is fine if you are just doing a few prints, but it won't hold up very long, and you can't get as much detail, so avoid it if you are doing something you want to last for a long time.
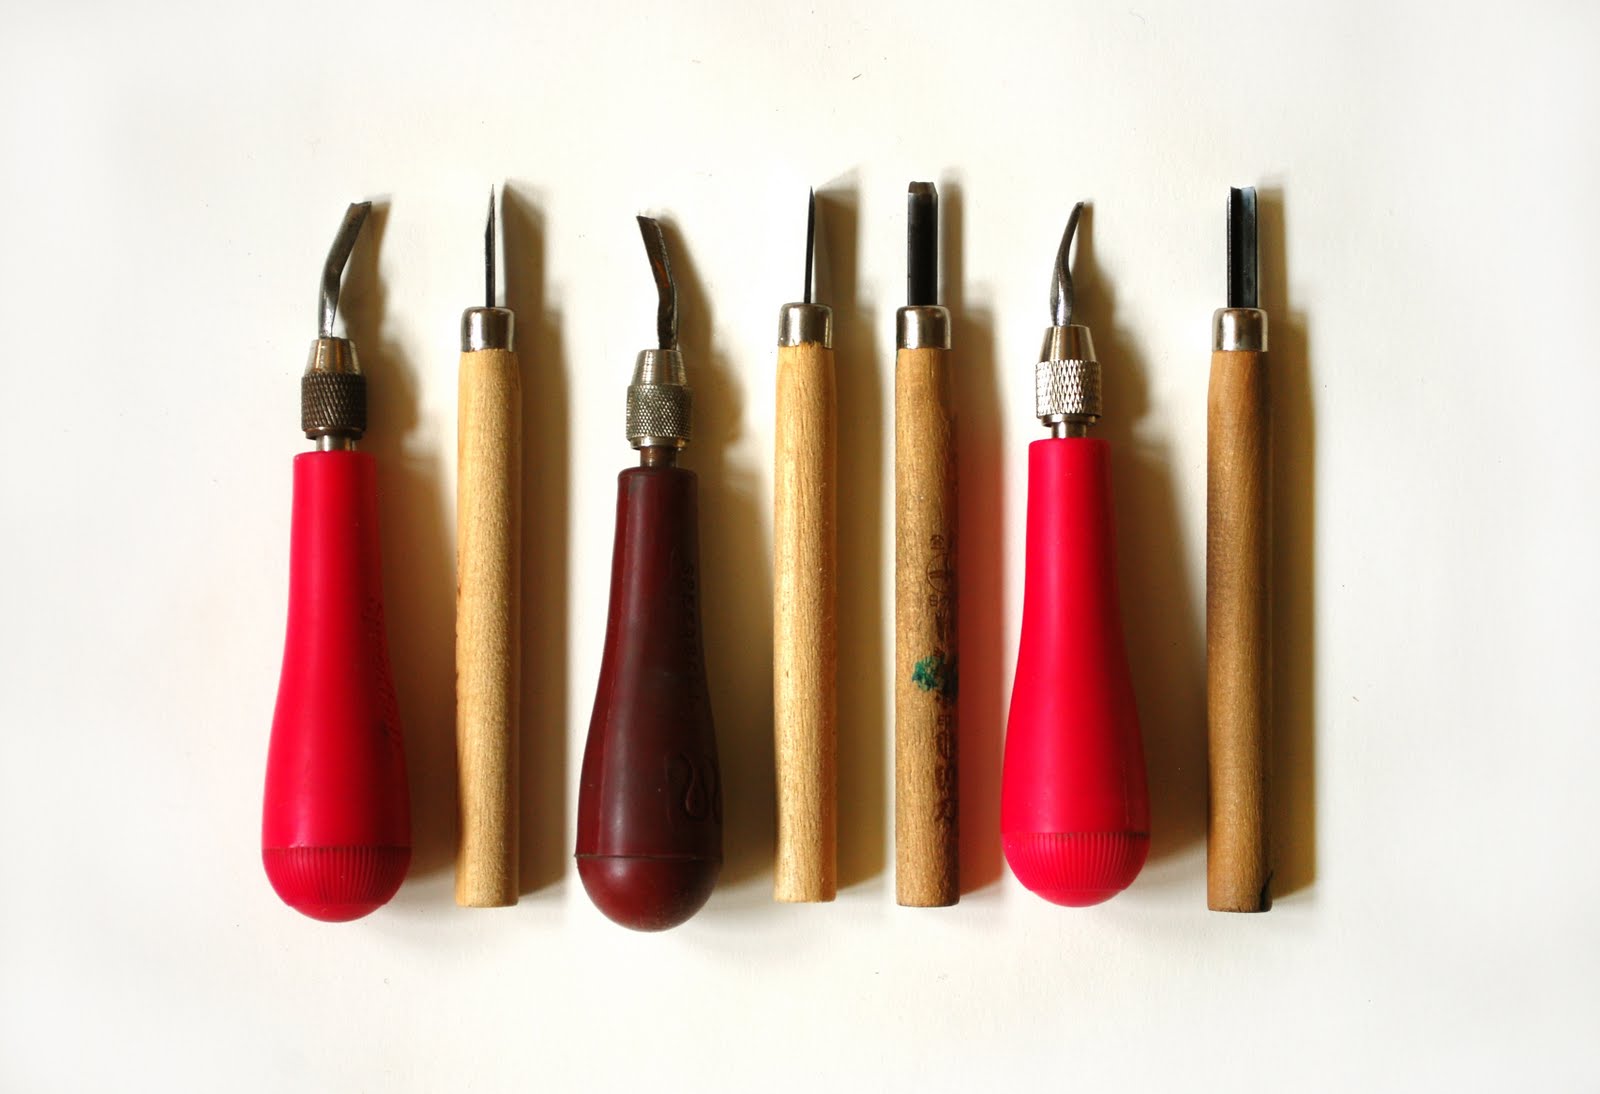
Carving Tools
I use a variety of different tools with different sized blades, and each one is good for a different type of carving. But for most pieces, you can get by with just a small and large v-shaped tip, one for details and one for carving out the background.
Everyone says it is important to change the blades frequently, but I actually rarely change the blades. I've had the wooden handled knives for about five years, and they are still extremely sharp. Just change them when they are obviously dull.

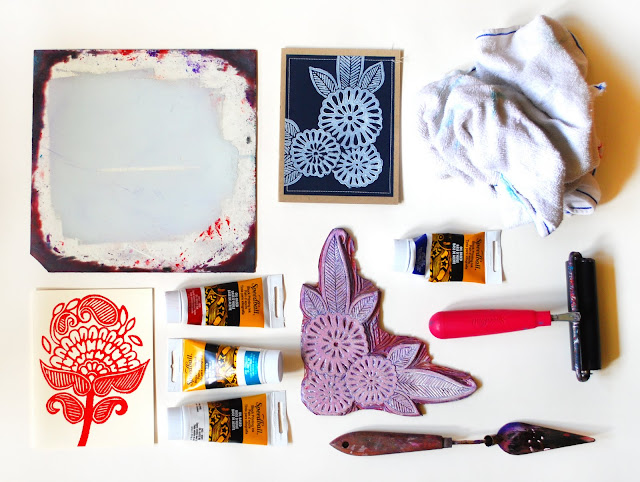
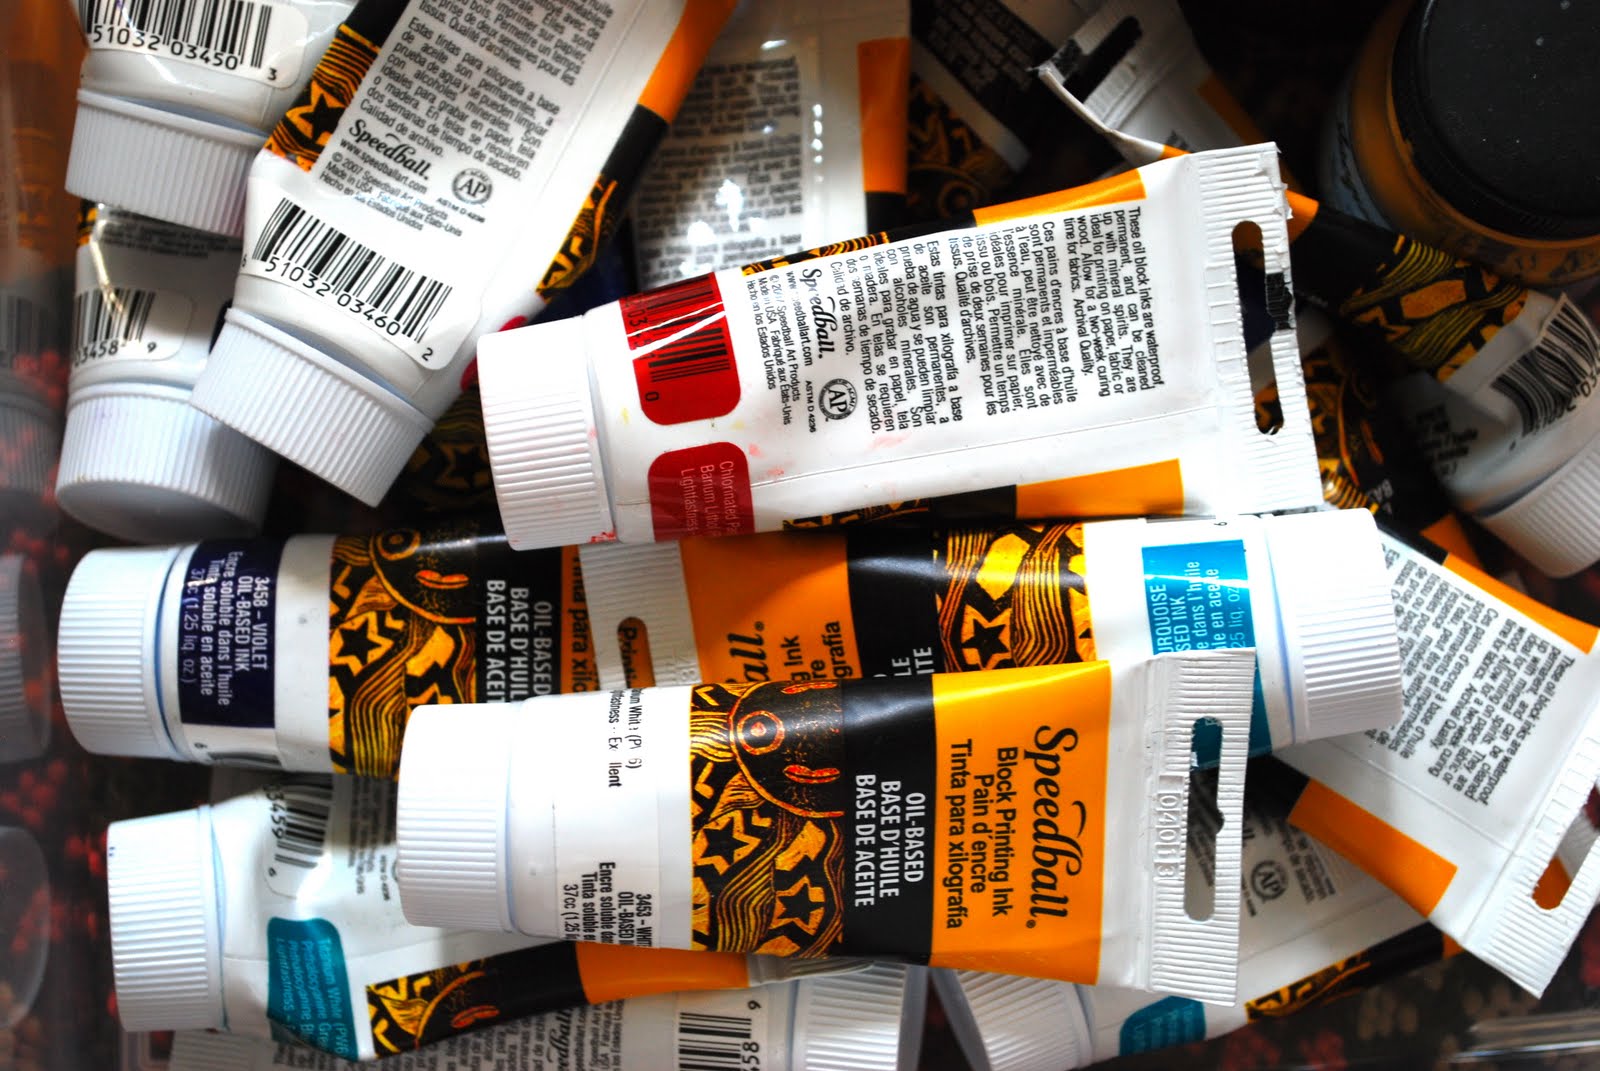
Ink
There are also hundreds of types of ink, but I stick to one (and one other type when I am using a press). After trying a huge range of inks, I found that Speedball oil-based inks are my favorite (there are many other brands of nice oil-based ink but these are about $6 cheaper per tube). I use oil-based ink because of its durability. With water based ink, it will smudge even after its been dry for months, and it will never stay on fabric. I found this out when I carried the first block printed bag I made through a rainstorm and had red ink all over my clothes once I got inside.
The oil-based ink takes much longer to dry (the red in particular can take up to five days to dry, depending on the moisture in the air) but it's worth it. Your prints will stay put for much, much longer.

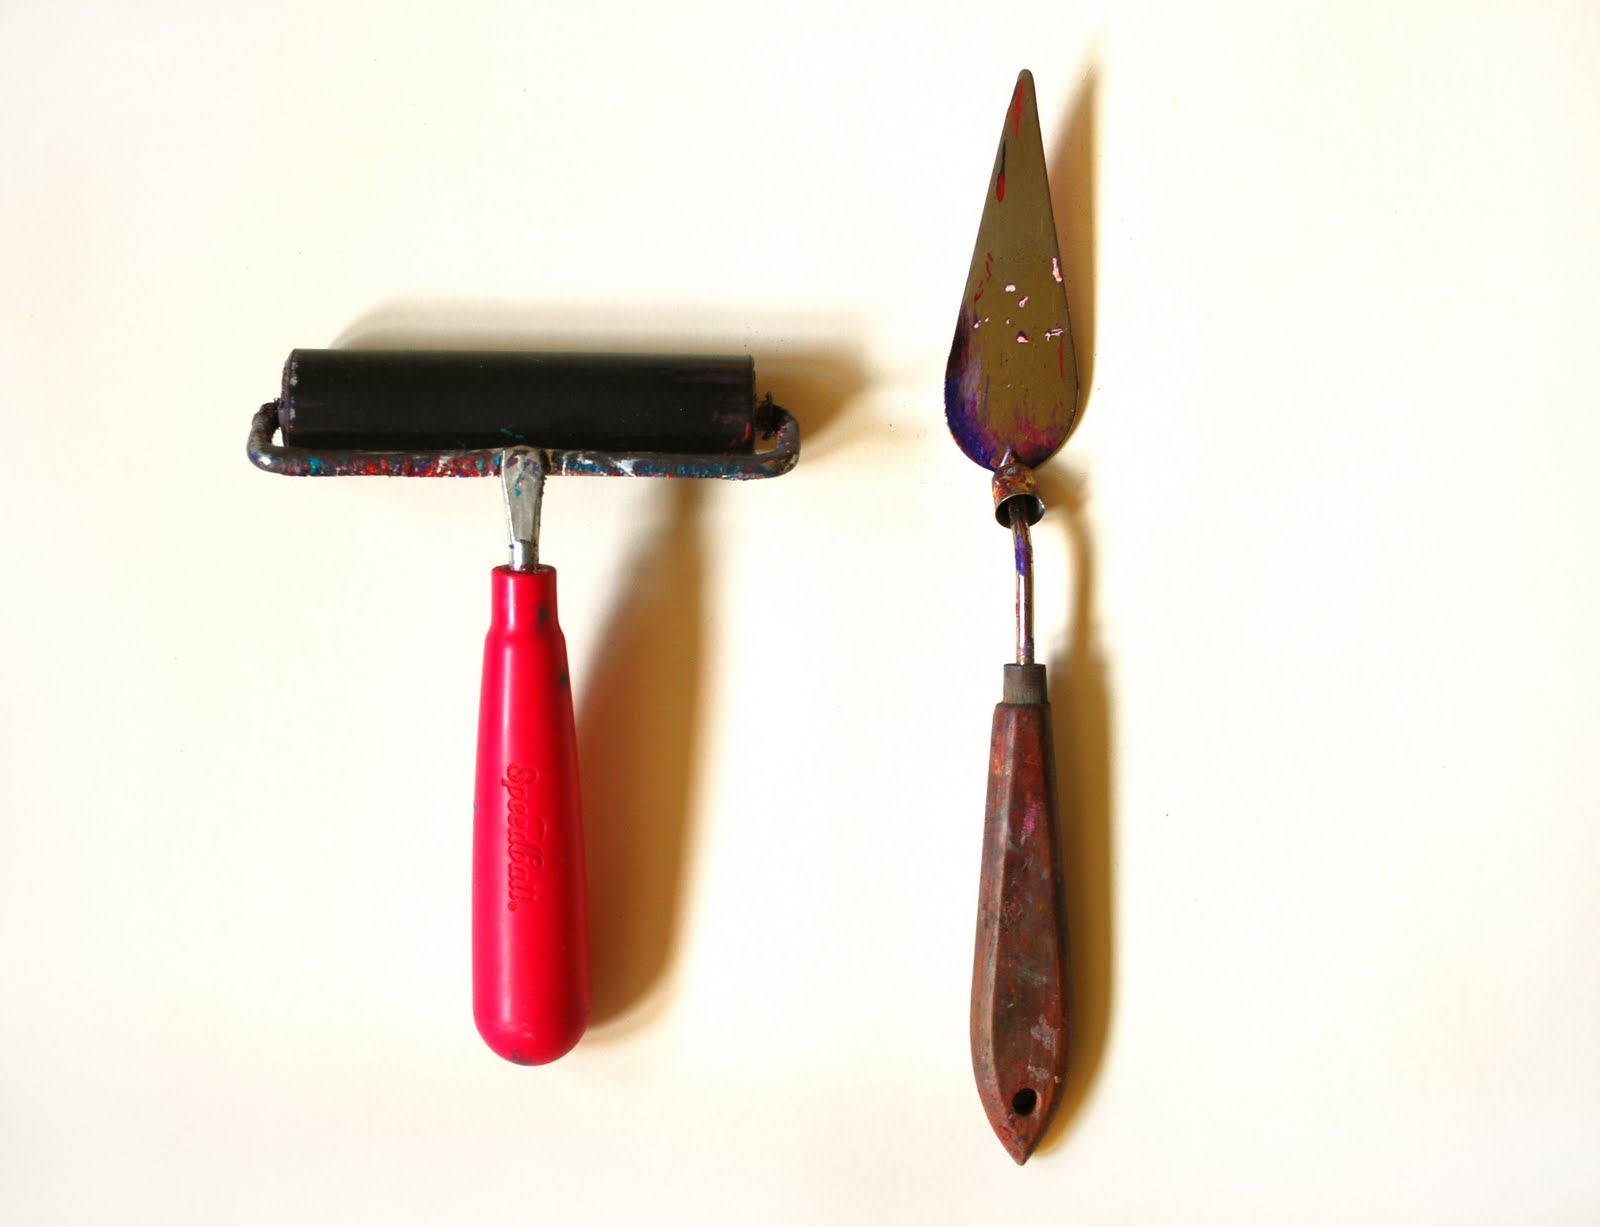
Roller/Brayer and Palette Knife
Rollers come in all sizes and textures, but I like to use a small one with a hard surface because it applies the ink more evenly than a soft roller. Use the palette knife for mixing colors and cleaning up the ink at the end.

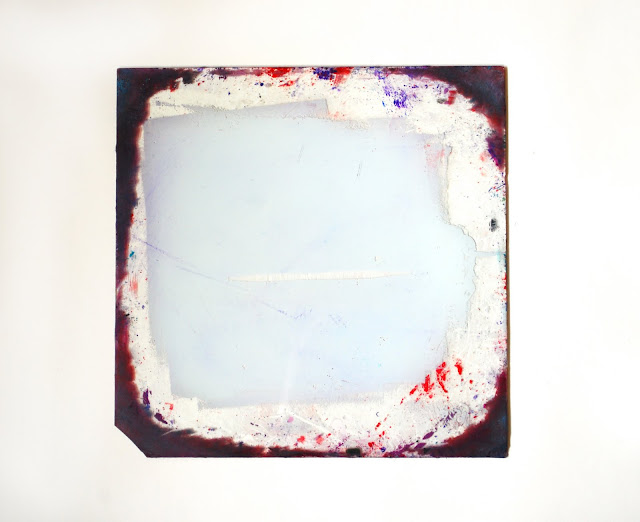
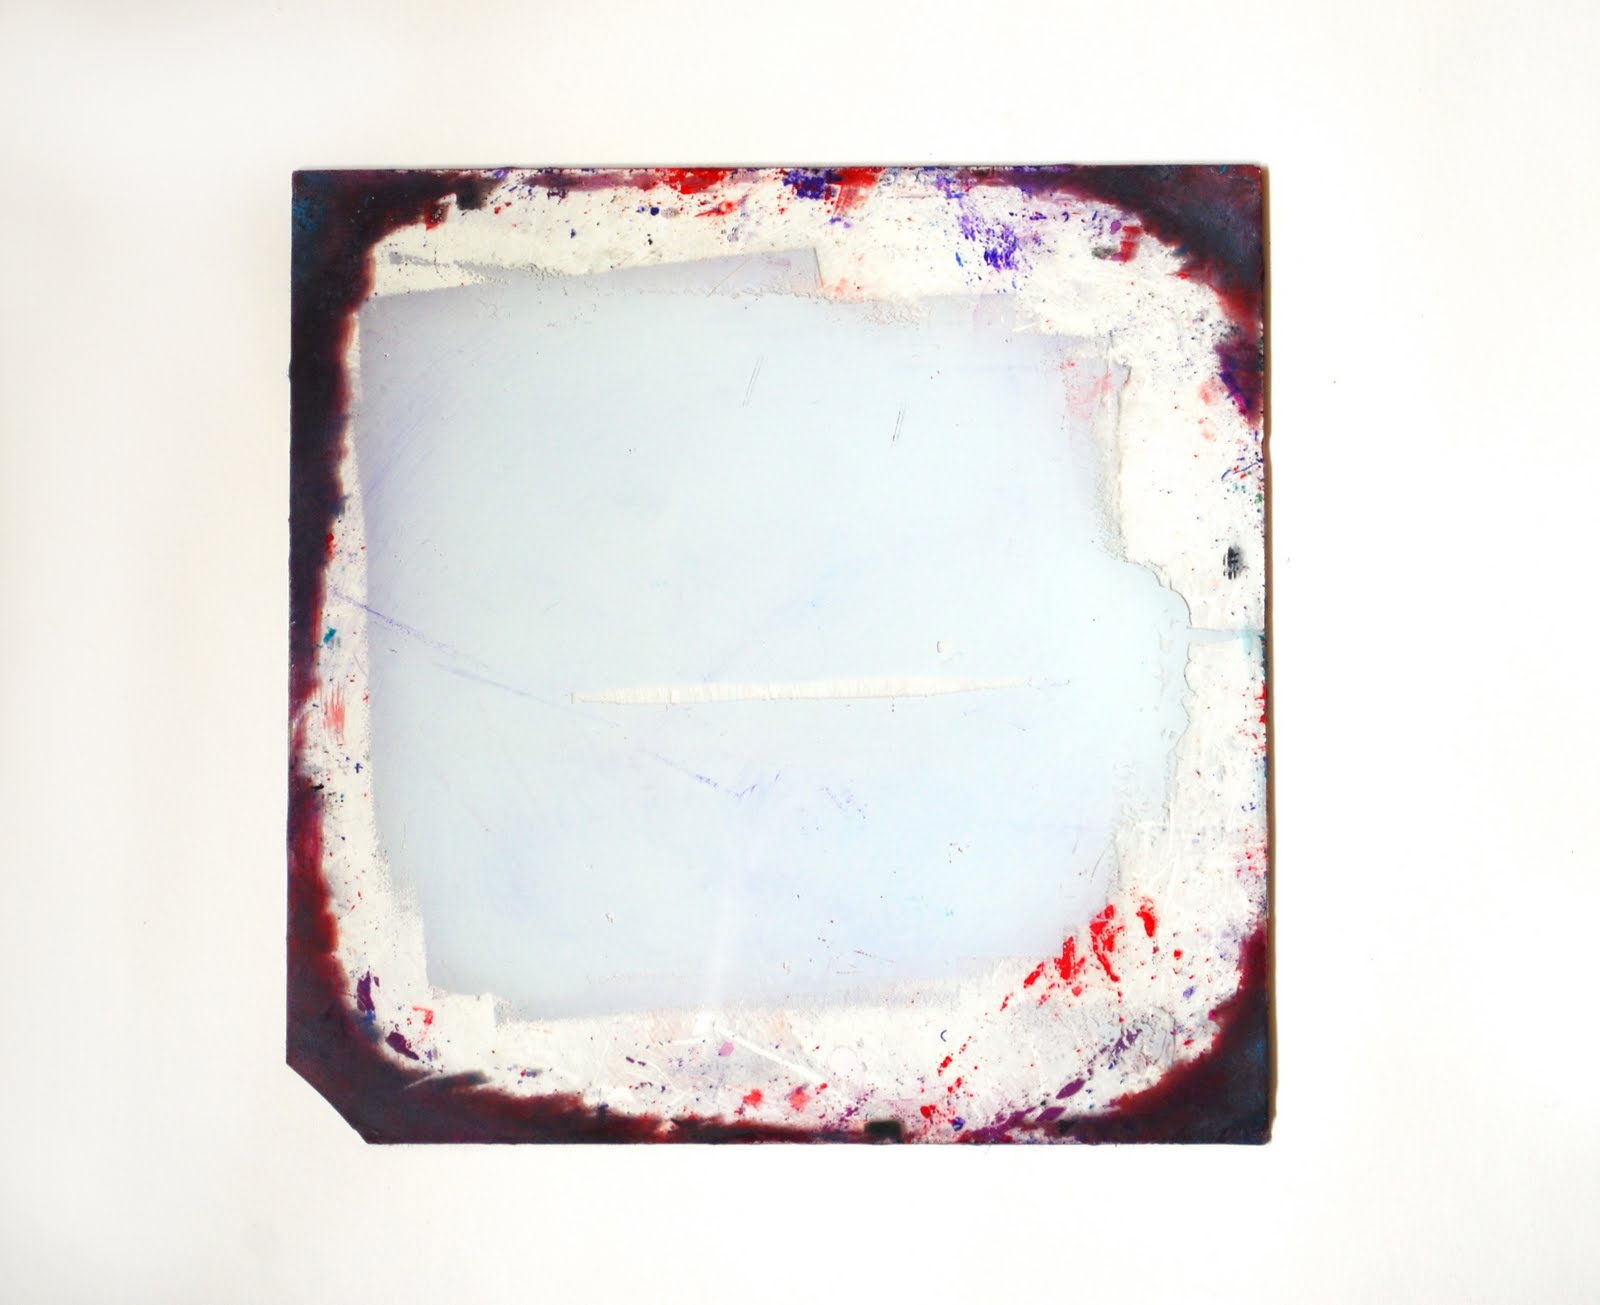
Glass
The glass is for rolling out your ink. You want a very thin layer so that it doesn't get into the grooves when you apply it to the block. I use glass from an old picture frame, but you can also get it specially cut (an old picture frame is much more cost effective).
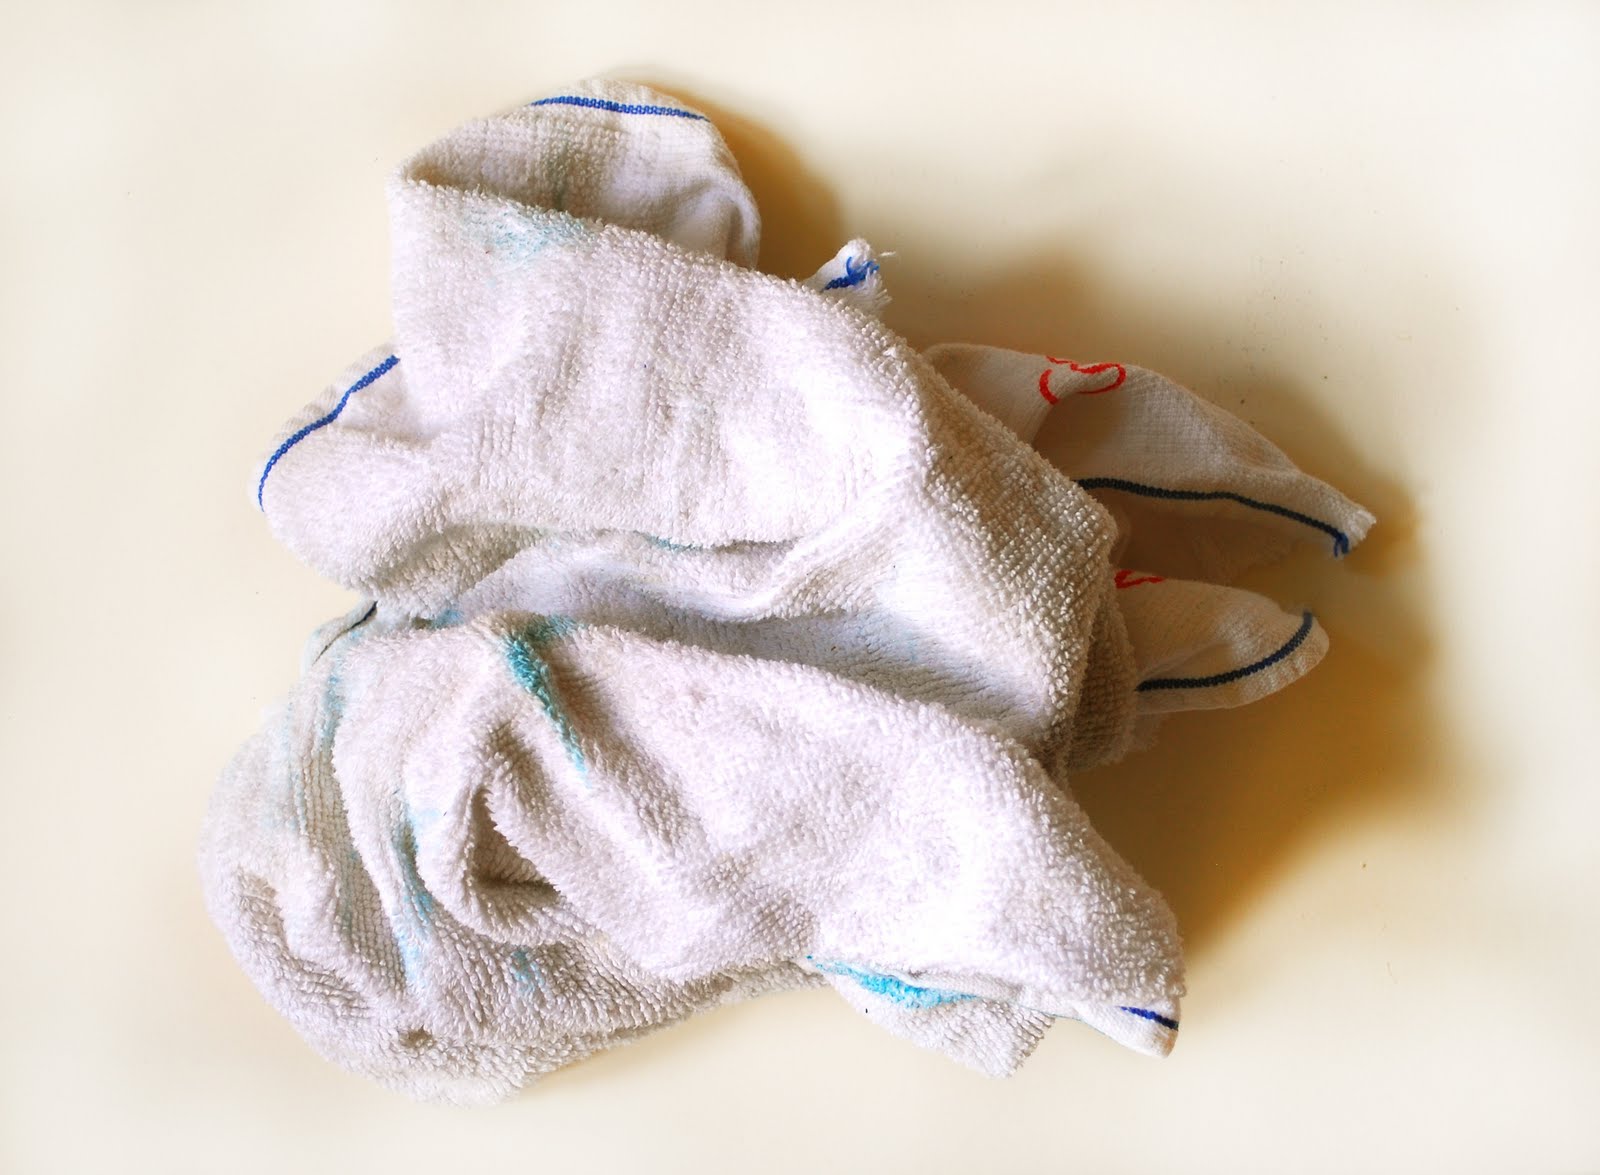
Rags
Instead of using paper towels to clean up, I use rags which I throw away after a few months. They soak up a lot more ink and cut down on a huge amount of waste.

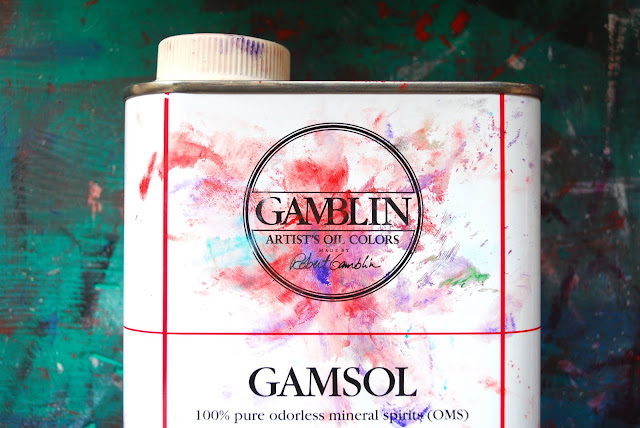
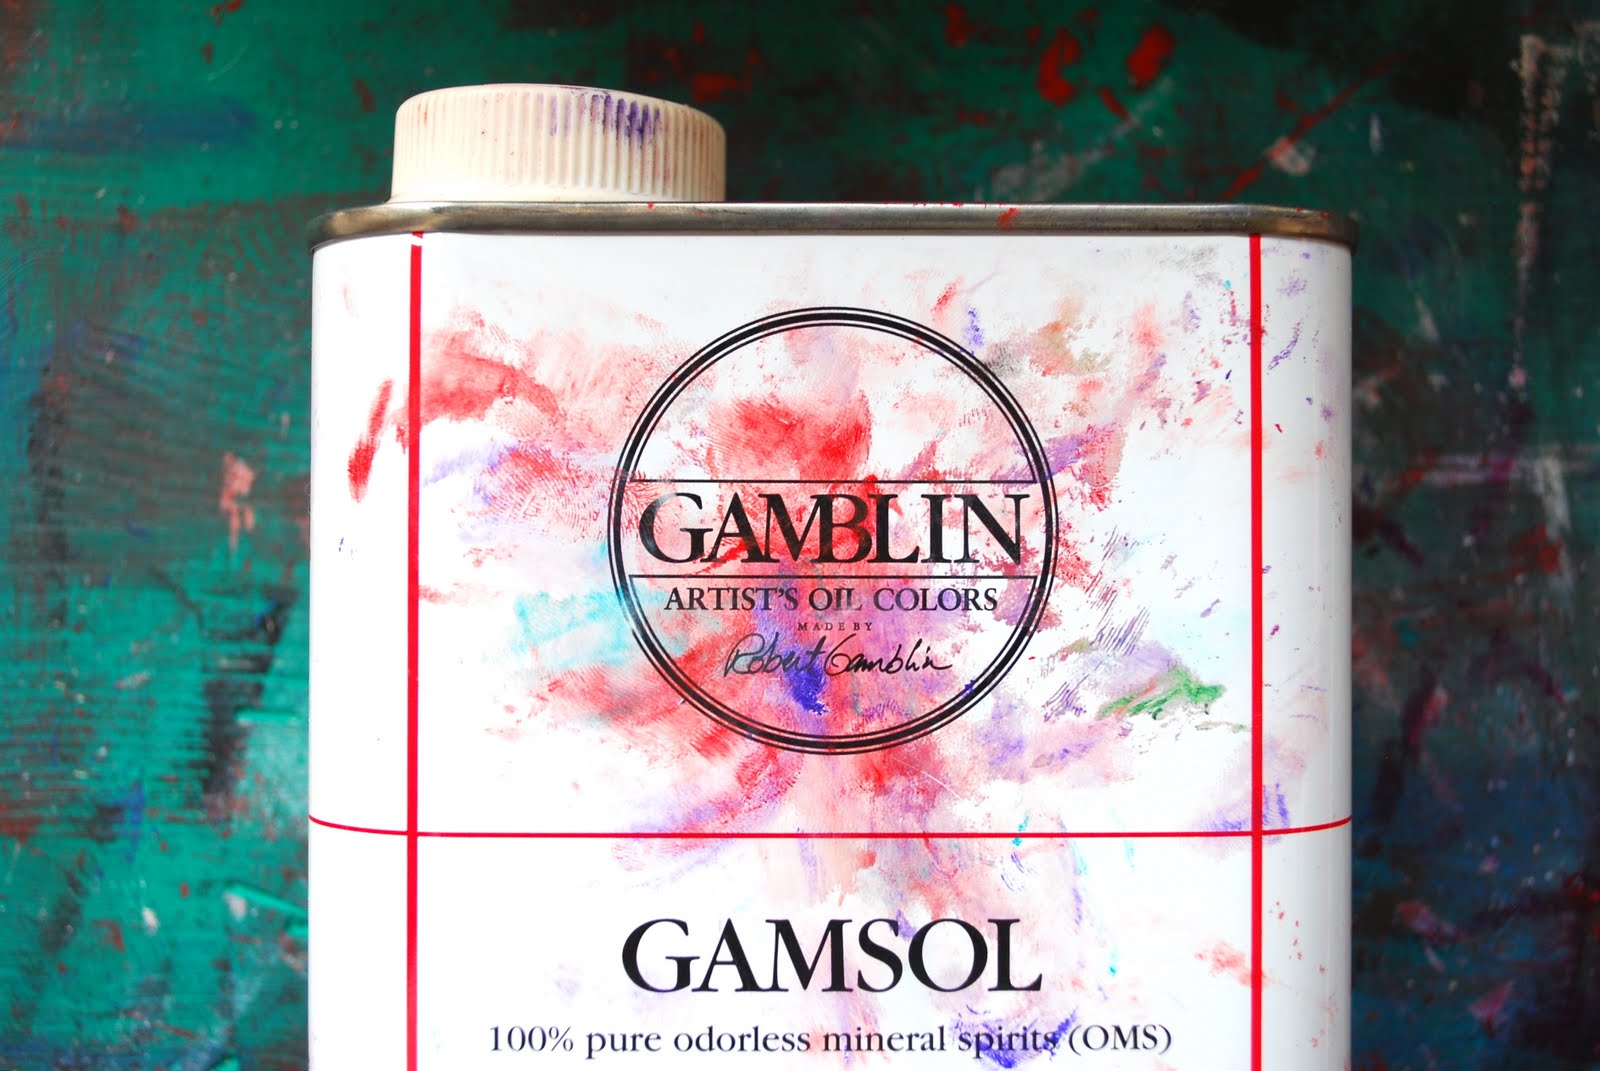
Mineral Spirits
If you are using oil-based inks, then you will need mineral spirits to clean up after. I use Gamsol because I like it and it's odor-free, but you can use any brand from the art store or hardware store.
And there you have it! A round up of the tools you need to get started. To see how to put them all to use, stop by Nana this Sunday between 12 and 5. See you there!
If DC is too far for you, I thought I would do a roundup of the basic materials you need for block printing. All of these materials can be purchased at your local art store.
Linoleum
Linoleum is the material you use to carve the design. It comes in hundreds of different textures, but this is very different from the flooring material. I prefer linoleum that's a little bit softer, because it's easier to carve and easier to print without a press. Harder linoleum sometimes needs to be heated on a special plate before carving, so stick with something softer if you don't have one.
A lot of people use the soft pink rubber material for block printing. This is fine if you are just doing a few prints, but it won't hold up very long, and you can't get as much detail, so avoid it if you are doing something you want to last for a long time.

Carving Tools
I use a variety of different tools with different sized blades, and each one is good for a different type of carving. But for most pieces, you can get by with just a small and large v-shaped tip, one for details and one for carving out the background.
Everyone says it is important to change the blades frequently, but I actually rarely change the blades. I've had the wooden handled knives for about five years, and they are still extremely sharp. Just change them when they are obviously dull.
Ink
There are also hundreds of types of ink, but I stick to one (and one other type when I am using a press). After trying a huge range of inks, I found that Speedball oil-based inks are my favorite (there are many other brands of nice oil-based ink but these are about $6 cheaper per tube). I use oil-based ink because of its durability. With water based ink, it will smudge even after its been dry for months, and it will never stay on fabric. I found this out when I carried the first block printed bag I made through a rainstorm and had red ink all over my clothes once I got inside.
The oil-based ink takes much longer to dry (the red in particular can take up to five days to dry, depending on the moisture in the air) but it's worth it. Your prints will stay put for much, much longer.
Roller/Brayer and Palette Knife
Rollers come in all sizes and textures, but I like to use a small one with a hard surface because it applies the ink more evenly than a soft roller. Use the palette knife for mixing colors and cleaning up the ink at the end.
Glass
The glass is for rolling out your ink. You want a very thin layer so that it doesn't get into the grooves when you apply it to the block. I use glass from an old picture frame, but you can also get it specially cut (an old picture frame is much more cost effective).
Rags
Instead of using paper towels to clean up, I use rags which I throw away after a few months. They soak up a lot more ink and cut down on a huge amount of waste.
Mineral Spirits
If you are using oil-based inks, then you will need mineral spirits to clean up after. I use Gamsol because I like it and it's odor-free, but you can use any brand from the art store or hardware store.
And there you have it! A round up of the tools you need to get started. To see how to put them all to use, stop by Nana this Sunday between 12 and 5. See you there!